Guiding Users Through Leak Detection Installs
 Over his tenure at RLE, Cam Rogers has just about seen it all. The good news for us – Cam is great about using his experiences to help people better understand RLE, the products we offer, and how they can be leveraged in every facility.
Cam has taken a look at the pathway to a leak detection install – from the initial contact with a customer, through the quoting process, to the point where the customer receives their boxes filled with leak detection products – and has worked to make the whole process more fluid (pun intended) for our users.
There’s nothing worse than looking at a box full of equipment and wondering what to do with it all. Here’s Cam’s breakdown of the SeaHawk BOM Worksheet, and how he uses this reference document to guide our customers through a successful purchase and installation process:
 “When creating a leak detection system quote for a Partner or customer who may have chosen to handle the installation themselves, we have a tool that helps to insure that the SeaHawk products quoted are being installed as originally envisioned during the take-off process from the drawings. Identifying the materials list and providing a quote is only part of the process. When the time comes for installation the Partner or customer has boxes of equipment without much insight as to how it should be installed.
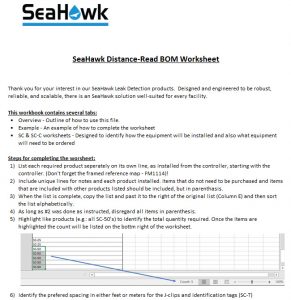
I use the SeaHawk BOM Worksheet to help to ensure that the installation goes as smoothly as possible on installation day. The Worksheet provides a line-by-line / product-by-product overview that lists every products that was identified as a required component of the system when the bill of materials (BOM) was originally identified for the quote. The .xlsx Worksheet (Workbook) includes a tab with instructions on how to use the Worksheet, a tab with an example of a completed Worksheet and a tab with a blank form for you to create your own Worksheet for the next Leak Detection that you quote.”
Download the SeaHawk BOM Worksheet
Leave a Reply
